This is a good FAQ to read before you link your accounts, or if you perhaps got a little confused when you did so.

There are essentially three steps:
- Linking - adding access for the first time
- Matching - linking accounts to existing Cheqbook Accounts
- Adding - creating new linked accounts in Cheqbook
Then there's also this one:
4. Re-authenticating - entering your passwords etc. to re-establish an existing bank link.
Most of the time you only have to do the first three once, which adds to the confusion because one is not used to doing them. However, it's really fairly simple.
Matching vs. Adding?
First, we use the term Linking to refer to the overall process of connecting your bank accounts so Cheqbook can automatically download your transactions.
Matching and Adding are smaller parts of that process.
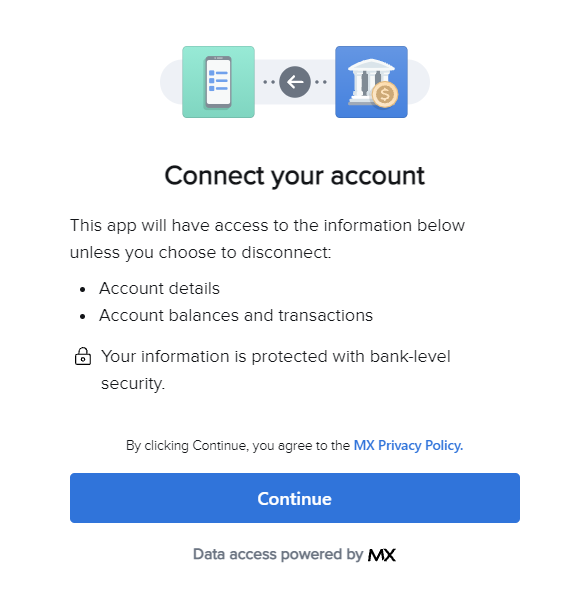
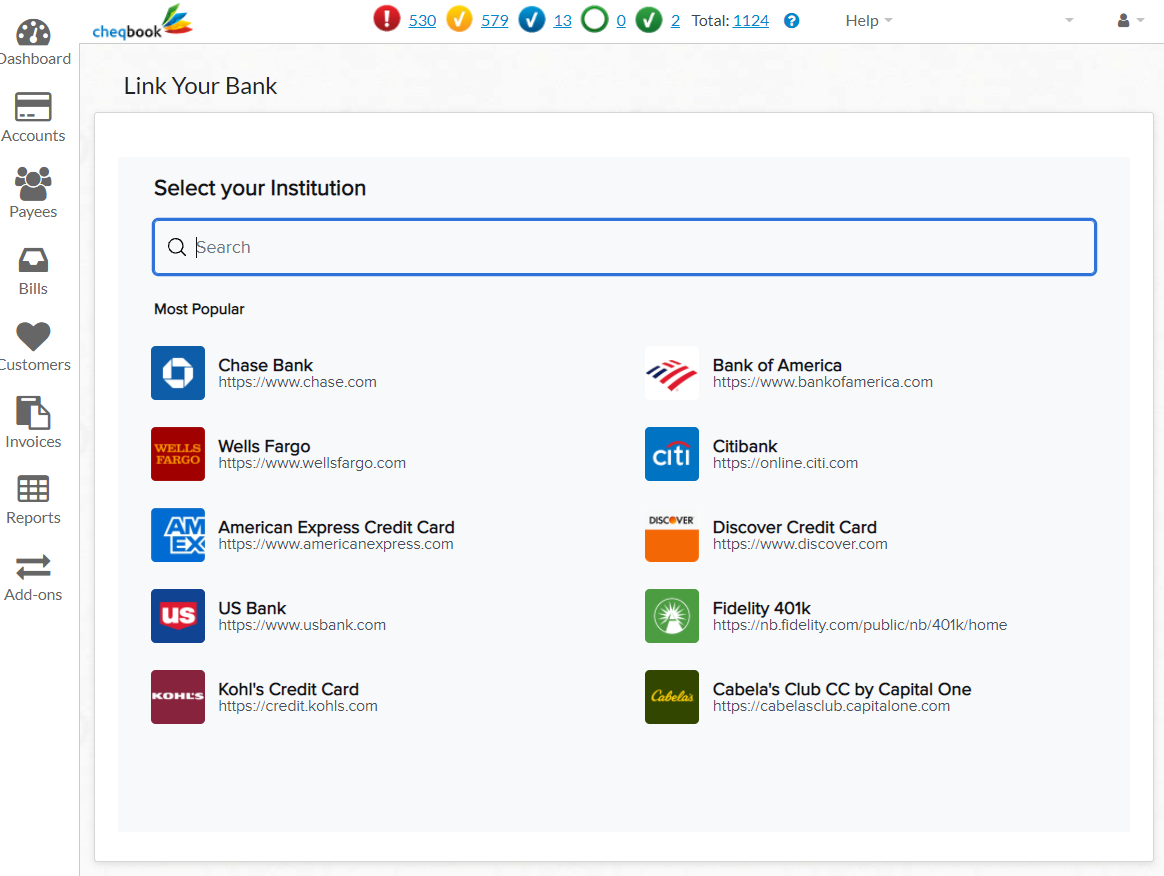
- Linking is the first step in connecting your bank accounts so Cheqbook can automatically download your transactions. You are prompted for your bank name, login credentials, and any special authentication to gain access to your bank's transactional data.

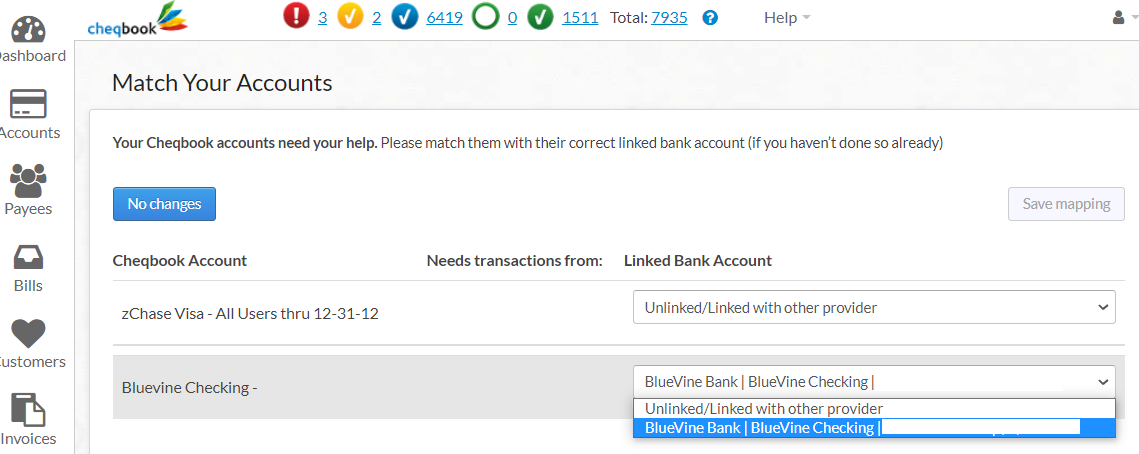
- Matching rarely needs to be updated except when you have pre-existing Cheqbook accounts and you have to match them to newly linked bank accounts. The most common reason is if your Cheqbook account is archived at any point - if you unarchive and start using it again all the bank links need to be re-matched. It can also happen if Cheqbook changes data providers or your bank totally overhauls its website.

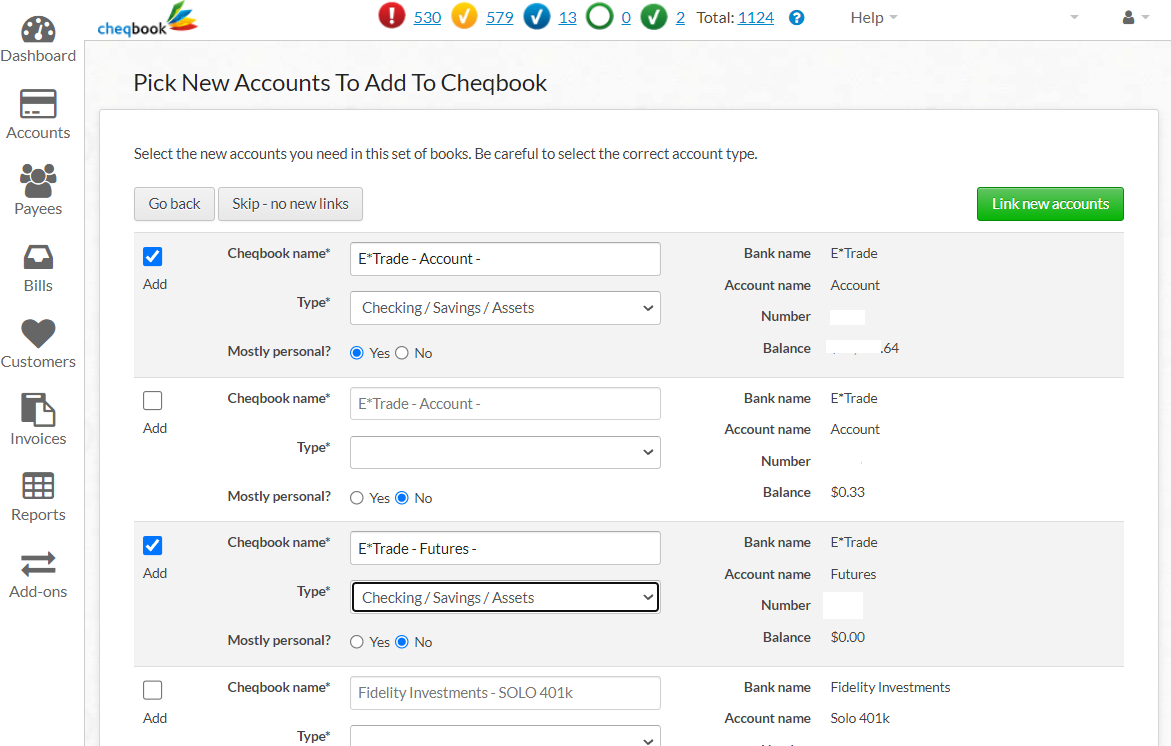
- Adding is more common. The first time you link a bank, all the available accounts at that bank are offered up to be added to your Cheqbook books. You select or unselect the ones you want in this company and save the changes. You also have to tell Cheqbook if this is a deposit or credit account, as well as a few other questions about the account.

The linking process is started by using the "Link a Bank or Credit Card" button on the dashboard. If you've never added bank accounts before, it will skip the Matching screen after you finish step one, but in the future you'll always see it should you need to edit it.
You can also return to Matching and Picking screen by using the "Manage Linked Accounts" button on your dashboard.
Let's run through some quick scenarios to emphasize this:
Scenario one: you're a new Cheqbook user linking a bank for the first time. Start by linking your first bank account, the system will SKIP step two (as you have no existing Linked accounts yet), and in step three you "Pick New Accounts to Add to Cheqbook" that you want.
Scenario two: you're an existing Cheqbook user with linked accounts linking a new bank for the first time. This will be the same as Scenario one, except the Matching screen will come up as you have existing accounts, but in your case you don't need it for your task. Just move ahead to the Pick New Accounts screen. There you'll select the accounts available at that bank you want to add.
Scenario three: you're an existing Cheqbook user and have to match an existing Cheqbook account to a newly re-linked bank. After linking the bank again in step one, in step two use the drop down boxes on the Match Your Accounts screen that are on the right of your existing Cheqbook accounts to select (match!) the correct bank account for each one that needs it. Step three Pick New Accounts will come up after you save this mapping, but you will not need it unless you're also adding a new account with that hadn't been added before.
Update for Transition to MX
On October 24th, 2021 our old data provider Yodlee was turned off, and you will have to re-authenticate all your bank accounts. The key step will be MATCHING. After you've re-established a link to each bank with our new provider MX, you will use the Matching screen to identify which Cheqbook account and bank account are to be connected. Repeat for each bank you have connections to, in each set of books.

Comments
0 comments
Please sign in to leave a comment.